The Art of Photo Restoration: Techniques and Tips for Bringing Old Photos Back to Life

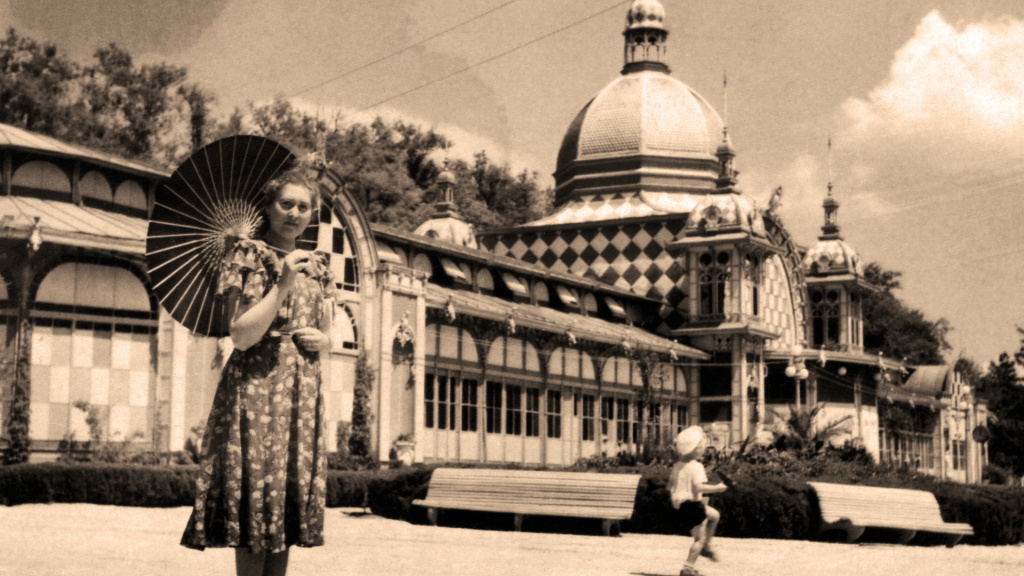
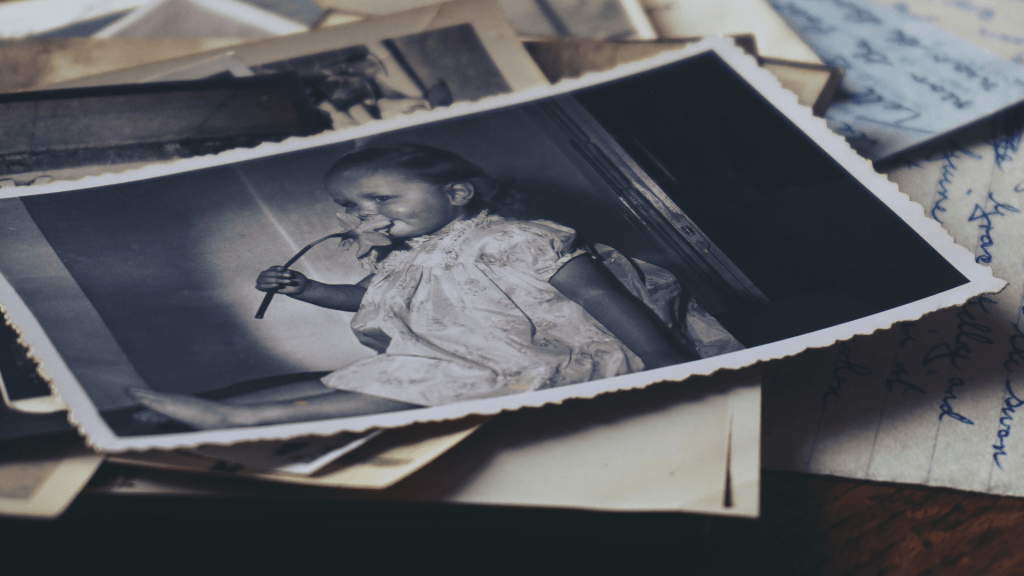
We all have old photos that we treasure, whether they are family portraits, vintage photographs, or historic images. However, over time, these photos can become damaged, faded, or worn out, leaving us with memories that are hard to see or even lost.

But fear not, because photo restoration is here to save the day! Photo restoration is the process of repairing and enhancing old photographs, restoring them to their former glory and preserving them for future generations to come. In this blog post, we’ll explore the art of photo restoration, including techniques and tips for bringing your old photos back to life.

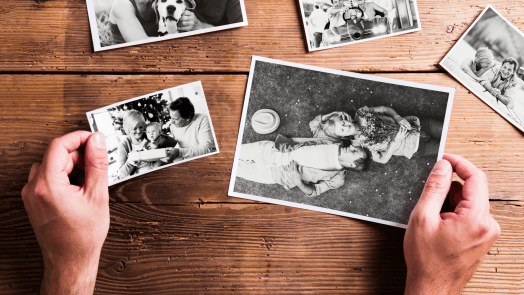
  1. Understanding the Damage: The first step in photo restoration is to understand the type of damage your photo has suffered. This can include scratches, stains, fading, or even missing pieces. By identifying the damage, you can determine the best restoration technique to use.
  2. Restoring the Photo: There are several techniques for restoring photos, depending on the type of damage. For instance, if the photo is stained, you can use photo editing software to remove the stains. If there are scratches or marks, you can use cloning or retouching tools to repair the damage. It’s important to keep in mind that photo restoration is a delicate process, and it’s best to work slowly and carefully to avoid damaging the photo further.
  3. Colour Correction: Colour correction is an essential part of photo restoration, as old photos often lose their colour over time. Using photo editing software, you can adjust the colour balance, saturation, and hue to restore the photo’s original colours.
  4. Enhancing the Photo: Once the photo is restored, you can enhance it to bring out its full potential. This can include sharpening the image, adjusting the contrast, and adding filters or special effects.
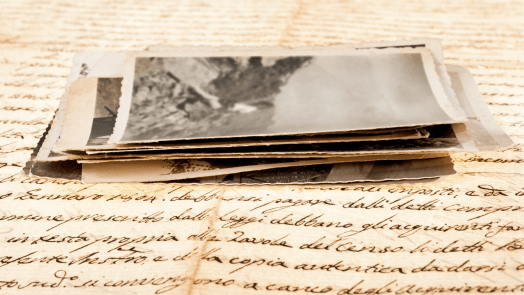
  5. Saving and Preserving the Photo: Finally, it’s important to save and preserve the restored photo. Make sure to save the photo in a high-resolution format, such as TIFF or RAW, and keep a backup copy in case the original is lost or damaged. You can also consider printing the photo or creating a photo book to display and share with others.

Photo restoration is a complex and rewarding art form that requires patience, skill, and attention to detail. By following these tips and techniques, you can bring your old photos back to life and preserve your memories for years to come.

The Importance of Backing Up Your Digital Photo Collection

In today’s digital age, we are taking more photos than ever before. With the convenience of smartphones and digital cameras, we are capturing precious moments and memories every day. However, with the sheer volume of photos we are taking, it’s easy to overlook the importance of backing up our digital photo collections.

Imagine losing all of your cherished photos in an instant due to a computer crash, hard drive failure, or accidental deletion. It’s a nightmare scenario that can be avoided by taking a few simple steps to backup your photos.

Here are some reasons why backing up your digital photo collection is so important:

  1. Protect against hardware failure: Hard drives and computers can fail unexpectedly, and if your photos are stored only on that device, they could be lost forever.
  2. Protect against theft or loss: If your device is lost or stolen, you may lose all of your precious photos along with it.
  3. Future-proof your memories: Technology is constantly evolving, and digital file formats may become obsolete over time. By backing up your photos, you can ensure that they are accessible and usable for years to come.

So, what are the best ways to backup your digital photo collection? Here are a few options:

  1. Cloud storage: Services like Google Drive, Dropbox, and iCloud offer secure and reliable cloud storage solutions for your digital photos. This means that your photos are stored on remote servers that are accessible from any device with an internet connection.
  2. External hard drives: You can also backup your digital photos to an external hard drive that you keep in a safe place. This is a great option if you have a large photo collection that won’t fit on your computer or if you don’t want to rely on a cloud service.
  3. Print your photos: Don’t forget about the power of print! Printing your favourite photos is a great way to ensure that you have a physical copy that can’t be lost due to technology failures.

Backing up your digital photo collection is essential to preserving your precious memories. By taking a few simple steps to backup your photos, you can ensure that they are protected from hardware failures, theft or loss, and technology obsolescence. So, take the time to backup your photos today and enjoy the peace of mind that comes with knowing your memories are safe and secure.

Digitising Your Photos: The Benefits You Didn’t Know About

Many of us have old photo albums tucked away in storage, filled with memories and moments captured on film. However, as time goes on, these physical copies can become damaged or lost, leaving us with nothing but fading memories.

Digitising your photos is the solution to this problem, and it offers several benefits you may not have considered. In this blog post, we’ll explore some of these advantages and explain why digitising your photos is a worthwhile investment.

  1. Preservation: One of the most significant benefits of digitising your photos is that it preserves them for future generations. By converting physical copies to digital files, you can ensure that these precious memories are protected from the ravages of time, such as fading, discoloration, or damage.
  2. Easy Sharing: Digital photos can be easily shared with friends and family, no matter where they are in the world. You can send them through email, social media, or even share them through cloud storage, making it easy to keep everyone in the loop.
  3. Space Saving: Storing physical photo albums can take up a lot of space in your home. By digitising your photos, you can reduce the clutter and save space, while still being able to access your memories whenever you want.
  4. Organisation: Digitising your photos also makes it easier to organise them. With digital files, you can add tags, keywords, and captions to your photos, making it easier to search for specific memories.
  5. Editing: Digital photos can be edited easily with photo editing software, allowing you to correct any issues such as colour or brightness. This means that you can enhance the quality of your old photos and make them look even better than before.
  6. Multiple Copies: By digitising your photos, you can make multiple copies to share with family and friends. This means that everyone can have a copy of their favourite memories, without the need to make extra physical copies.

In conclusion, digitising your photos is a great investment that offers many benefits. From preserving your family history to making it easier to share your memories with loved ones, the advantages are clear. So why not start digitizing your photos today and enjoy the benefits for years to come?

The Role of Colour Correction in Photo Restoration and Digitisation

Have you ever come across an old family photograph that has started to fade, turn yellow, or lose its original colours? If so, then you know how important it is to restore these photos to their former glory. One of the key steps in this restoration process is colour correction.

Colour correction is a technique used in photo restoration and digitisation to adjust the colours and hues of an image. The goal is to make the photo look as close to the original as possible, while still making it look new and fresh. In this blog post, we’ll explore the role of colour correction in photo restoration and digitisation, and why it’s an important step to take when preserving your family’s memories.

The Importance of Colour Correction

When it comes to old photographs, the colours can often become distorted over time. This can be due to a variety of factors, such as exposure to light, temperature changes, or simply the passage of time. When restoring an old photo, colour correction is essential in order to bring back the true colours and tones of the image.

Colour correction involves adjusting the brightness, contrast, saturation, and hue of the image. By doing so, the photo can be transformed from a faded, discoloured image to one that is rich and vibrant. This is particularly important for family photos, as these images are often cherished memories that are passed down through generations.

Professional vs. DIY Colour Correction

While it is possible to do colour correction yourself using photo editing software, it is often best left to the professionals. Professional photo restoration and digitisation services have the expertise and experience to properly restore old photographs, including using colour correction techniques.

DIY colour correction can be time-consuming and challenging, particularly if you don’t have the right equipment or software. Additionally, incorrect adjustments can actually make the photo look worse than it did originally. If you want to ensure that your family photos are restored properly, it’s best to leave it to the professionals.

Colour correction is an essential step in photo restoration and digitisation. It allows old, discoloured photos to be brought back to life, and ensures that your family’s memories are preserved for future generations. If you have old family photos that need restoration, consider using a professional photo restoration service that offers colour correction as part of their process.

From Dusty Albums to Digital Memories: Our Photo Digitisation Process

At some point, we all stumble upon an old photo album that we haven’t seen in years. As we flip through the pages, memories come flooding back, and we are transported to a different time and place. However, those memories are not always safe. Old photos can fade, crack, or even get lost, and with them, the stories that they hold.

That’s where photo digitisation comes in. By converting your old photos into digital files, you can preserve them for future generations, protect them from damage, and even share them with loved ones around the world.

At Precious Memories, we understand the value of family memories, which is why we have developed a photo digitisation process that is safe, efficient, and affordable. Here’s how it works:

Step 1: Preparation

Before we digitise your photos, we will inspect them to ensure that they are clean and free of debris. We will also remove any photos that are damaged beyond repair.

Step 2: Scanning

Using high-quality scanners, we will carefully scan each of your photos at a high resolution. This will capture every detail and ensure that your digital copies are as close to the original as possible.

Step 3: Enhancement

Once your photos are scanned, we will use advanced software to enhance the quality of your images. This may include adjusting the brightness, contrast, or colour balance to make your photos look their best.

Step 4: Storage and Delivery

Once your photos are digitised, we will store them on a secure server and deliver them to you on a USB drive or through our cloud-based platform. This will ensure that you have easy access to your digital memories whenever you want them.

At Precious Memories, we take great pride in our photo digitisation process, and we are confident that you will love the results. Contact us today to get started and preserve your family history for generations to come.

Preserving Your Family’s Military History: How Photo Digitisation Can Help Honour Their Service

Military service has been an essential part of many families’ histories, and preserving the legacy of those who have served is a meaningful way to honour their sacrifice. With the advancements in photo digitisation, it is now easier than ever to preserve the photographs and memories of our loved ones who have served in the military.

Here are some ways photo digitisation can help you preserve your family’s military history:

  1. Creating Digital Copies of Photographs: Most families have a collection of photographs of their military ancestors, but these photos are often fragile and prone to damage over time. By digitising these photos, you can create digital copies that will not deteriorate with age, ensuring that future generations will be able to view and appreciate these cherished memories.
  2. Organising Military Photos: As families grow, so do their collections of photographs. It can be challenging to organise a large number of photos, especially when they span across multiple generations. Digitisation provides an opportunity to organise photos by year, location, or event, making it easier to find and view specific images.
  3. Sharing Military History with Relatives: Sharing military history with relatives is an important way to keep the memory of your loved ones who have served alive. Digitised photos can be shared with relatives across the world, allowing them to appreciate the sacrifices made by their family members.
  4. Honouring Military Ancestors on Special Occasions: Digitised photos can be used to honour military ancestors on special occasions such as Remembrance Day, Memorial Day, or family gatherings. Displaying digitised photographs can help keep the memory of loved ones alive and remind family members of their service and sacrifice.
  5. Enhancing Research and Genealogy: Digitised photos can provide valuable insights for researchers and genealogists. Photos can provide clues about where ancestors served, what they did, and the experiences they had during their time in the military. By digitising photos, you can make them accessible to researchers and genealogists, allowing them to learn more about your family’s military history.

In conclusion, photo digitisation is a powerful tool that can help preserve your family’s military history and honour the sacrifice of your loved ones who have served. By digitising your family’s military photos, you can ensure that their legacy lives on for generations to come.

Maximising Your Photo Digitisation Results: Choosing the Right Resolution and File Format

Digitising your old photographs can be a rewarding and fulfilling task, but it can also be a daunting one, especially when it comes to choosing the right resolution and file format. These two factors can have a significant impact on the final result of your digitisation project, so it’s important to understand the differences and choose wisely. In this blog post, we’ll explore how to maximise your photo digitisation results by choosing the right resolution and file format.

Resolution

When it comes to digitising your photos, resolution refers to the amount of detail that can be captured in the image. The higher the resolution, the more detail that can be captured. However, higher resolution also means larger file sizes, which can impact storage and processing capabilities. So how do you choose the right resolution for your photo digitisation project?

The answer depends on your intended use for the digitised photos. If you plan to print the photos at a large size or use them for professional purposes, such as in a museum or gallery setting, you’ll want to choose a high resolution, typically 600 DPI (dots per inch) or higher. This will ensure that the details of the original photo are captured accurately and can be seen clearly in the final result.

If, on the other hand, you only plan to view the digitised photos on a screen, such as on a computer or TV, a lower resolution of around 300 DPI may be sufficient. This will still capture enough detail to produce a high-quality image on a screen, but the smaller file size will make it easier to store and share.

File Format

Once you’ve chosen the right resolution for your digitisation project, it’s important to consider the file format. There are several file formats to choose from, including JPEG, TIFF, and RAW, each with its own advantages and disadvantages.

JPEG is a commonly used file format and is suitable for most purposes. It offers good compression, making it ideal for storing and sharing digital photos online. However, JPEG is a lossy format, meaning that it compresses the image data, resulting in a loss of quality. This can be a concern if you plan to use the digitised photos for professional purposes.

TIFF, on the other hand, is a lossless file format, meaning that it retains all the data from the original image. It’s a larger file format, but it offers the highest quality, making it ideal for professional use.

RAW is another lossless file format, but it’s primarily used by professional photographers who want to have full control over the editing process. RAW files are larger than JPEG or TIFF files and require specialised software to view and edit.

In general, for most home photo digitisation projects, JPEG or TIFF are the best file formats to use. If you plan to use the digitised photos for professional purposes, TIFF may be the better option.

Choosing the right resolution and file format for your photo digitisation project is crucial to achieving high-quality results. By understanding the differences and advantages of each option, you can make an informed decision and maximise the potential of your old photos. Remember to consider your intended use for the digitised photos when making your choices, and always keep a backup of your original files to ensure they are protected for future generations.